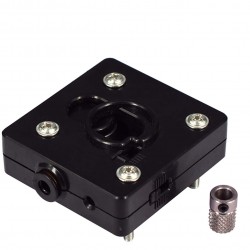
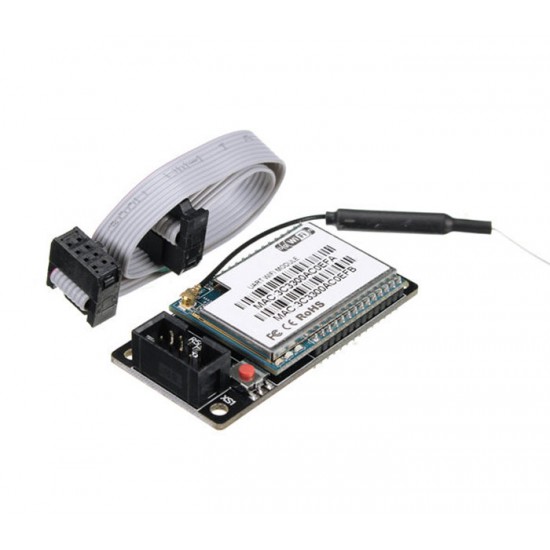
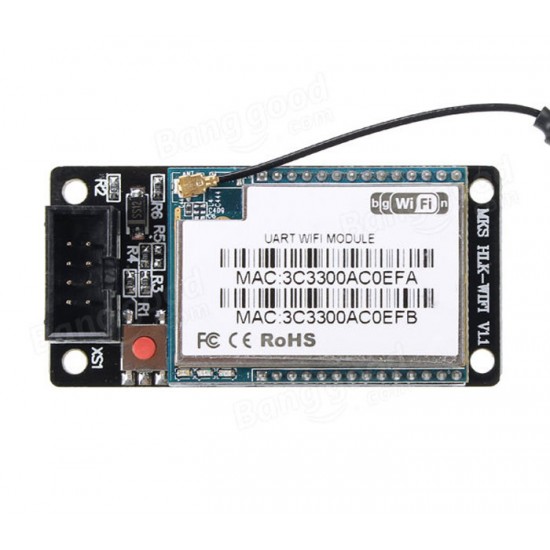
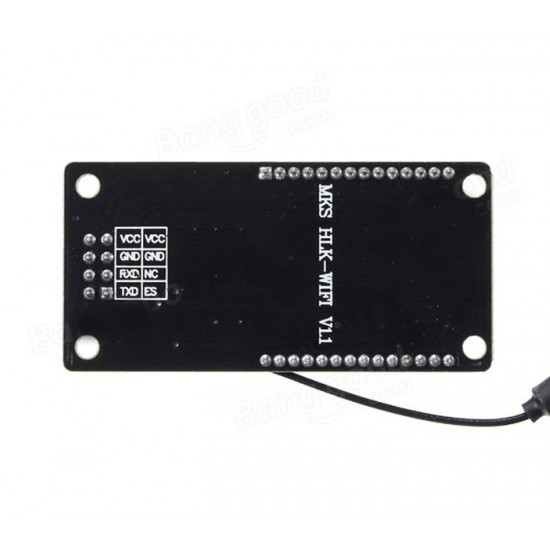
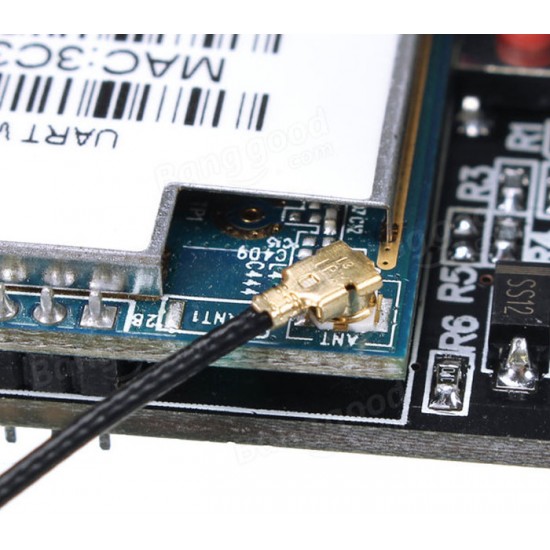
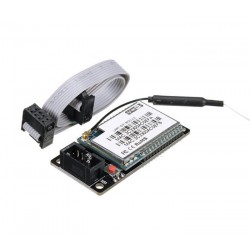
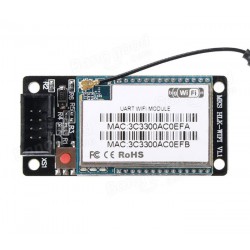
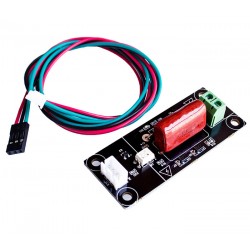
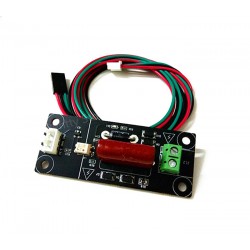
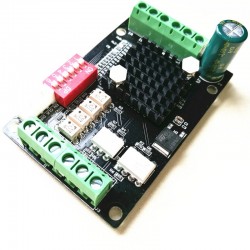
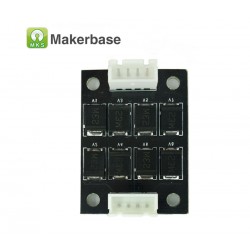
ماژول وای فای MKS HLKWIFI مخصوص بردهای MKS TFT
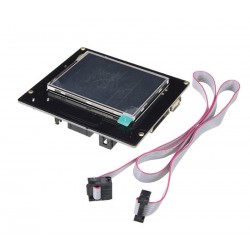
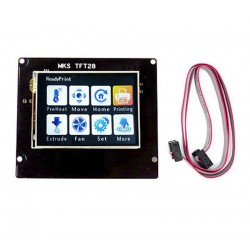
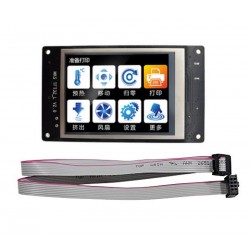
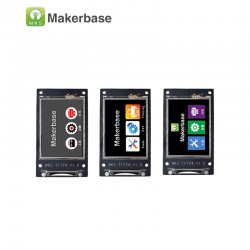
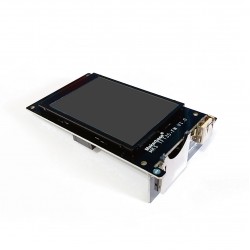
این ماژول براحتی بروی "ال سی دی لمسی و رنگی پرینتر سه بعدی مدل MKS TFT28" و "ال سی دی لمسی و رنگی پرینتر سه بعدی مدل MKS TFT32" نصب می شود و قابلیت اتصال بصورت وای فای را فراهم می کند.
Introduce:MKS-HLKWIFI is created by MakerBase(MKS) based on HLK-RM04 module, which is suitable for open-source 3D printer. Also, MKS-HLKWIFI is used for MKS Base (updated version 1.2), MKS Gen, MKS Mini, MKS SBase, etc, those are developed by MakerBase, as well as MKS TFT touch screen.
Features:
1. Based on strong and stable HLK-RM04 module.
2. Using on MKS motherboard directly.
3. Work with MKS TFT28 touch screen and all MKS series modules.
Notice: Due to undercurrent, MKS HLKWIFI can not work with Ramps1.4.
Package includes:
1 x 3D Printer Control Board MKS HLKWIFI Module
Please visit here to download firmware: click to open
github.com/makerbase-mks
Appendix 1 Connection:
Connect to Aux-1 on MKS BASE, MKS MINI, MKS SBASE, MKS GEN. MKS BASE only supports V1.2 updated version.
Usage on Motherboard:
1. Connect WIFI module to AUX-1.
2. Search for WIFI hotspot and connect.
1). Search hotspot HI-LINK-XXXX, and connect. Password: 12345678;
2). If you can not find the hotspot , press on button of module for 10 seconds, then restore factory settings.
3). Attention: Under default, the baud rate of HLKWIFI is 115200, which must be as the same as firmware.
3. Configuration on MKS HLKWIFI
1). After enter HI-LINK-XXXX, connect to IP: //192.168.16.254;
2). Log in: accounts: admin; password: admin.
3). Proceed network configuration and modify the Client you need.
4). Any other help, please refer to HLK-RM04 user manual 1.31.pdf.
4. The use of remote control of the printer Printrun
Note: Enter the IP address 192.168.16.254:8080 of the WIFI at Port
5. Use Repetier-Host remote control printer
Note: Connecting terminal select TCP / IP
6. Use APP control the printer
Appendix 2 Connection:
Connect to MKS TFT28 touch screen:
mks_config.txt Wifi configuration (MKS TFT28 only supports V1.1 updated version)
1. The Wifi mode selection
Change the value behind the colon of "cfg_wifi_mode" into the Wifi network you need (“1” is AP mode, “0” is client mode).
2. The wifi configuration of client mode
A. Wifi name: change the Wifi name behind the colon of "cfg_wifi_ap_name" into your wireless network.
B. Wifi password: change the Wifi password behind the colon of "cfg_wifi_key_code" into your wireless network’s password.
C. Dynamic accessing IP: set the value behind the colon of "cfg_ip_dhcp_flag" into you need (“0” indicates static IP, “1” indicates dynamic IP).
D. IP: change the IP behind the colon "cfg_ip_address" into you need.
E. IP mask: change the IP mask behind the colon of "cfg_ip_mask" into you need.
F. Gateway IP: change the gateway behind the colon of "cfg_ip_gate" into you need.
3. Wifi configuration instruction on AP module
A. Wifi name : change the WIFI name behind “cfg_wifi_ap_name” into the hotspot name you need .
B. WIFI password : change the WIFI password behind “cfg_wifi_key_code” into password of wifi hotspot, and save it .


-100x52fill.jpg)


